How to create your own sections
Make your own groups of senders, like Clients, Family or Newsletters, give them an emoji, and put them in the order you like.
- Time needed
- About 2 minutes
- What you need
- Talanoa, and a few senders you'd like to group together
Your inbox, your drawers 🗂️
Talanoa already sorts your senders into Teammates, People and Notifications (here’s how that works). But your life has more drawers than that.
Maybe you want all your clients together. Or the kids’ school, the sports club and grandma in a “Family” corner. Or your favorite newsletters in their own reading nook.
That’s what sections are for. A section is a group of senders that you make yourself, with a name and an emoji. It shows up in the sidebar, between People and Notifications.
Step 1: Create a section
There are three ways. Pick your favorite.
From a sender (the quickest):
- Click a sender’s name in the sidebar.
- On the right, under More, click Move to section.
- Click Create a section at the bottom of the menu.
This creates the section and moves that sender into it, right away.
From the sidebar:
- Move your mouse over a group name, like People.
- Click the ⋮ button, then Create a new section.
From Settings:
- Open Settings (
Cmd+,on Mac,Ctrl+,on Windows and Linux). - Click Sections.
- Click Create Section.
Then, in every case:
- Type a name. For example: Clients.
- Want an emoji? Click Pick emoji and choose one. 🧩 (Optional, but it makes the sidebar so much nicer.)
- Click Create section (or Create in Settings).
Step 2: Put senders in it
Drag and drop: grab a sender’s name in the sidebar and drop it on your section. The section lights up with a dotted border when you’re over it. You can also drag an email from your inbox list onto the section: its sender moves in.
With the menu: click the sender’s name, then Move to section, then Move to your section.
All their past emails move in. Their future emails too: Talanoa remembers.
And… that’s it! 🎉 Your section is ready.
Step 3: Tidy up your sections
Open Settings → Sections. You’ll see all your sections for the account shown at the top.
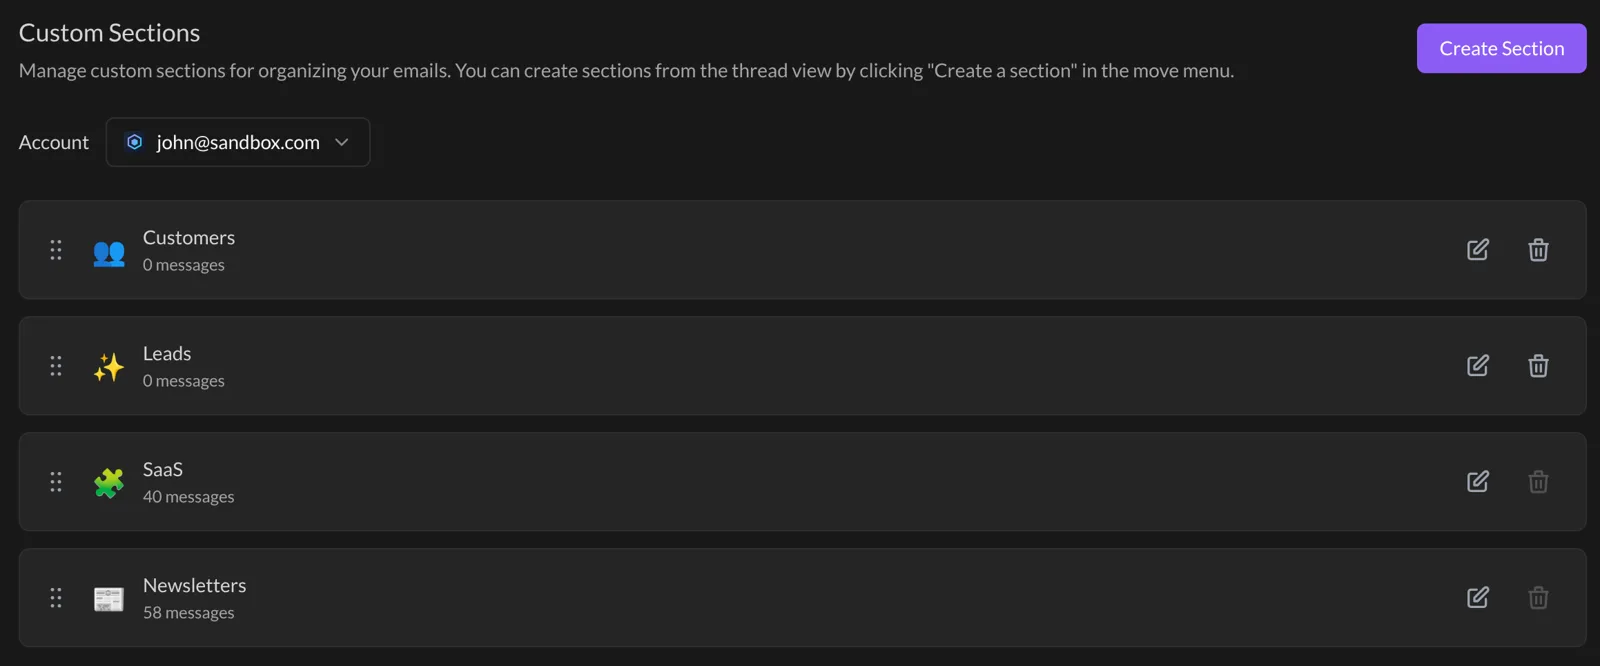
- Reorder them: grab the dots on the left of a section and drag it up or down. The sidebar follows.
- Rename or change the emoji: click the pencil button, make your changes, then Save.
- Delete one: click the trash button. A section must be empty first: move its senders to another group, then delete it.
Each section also has its own ⋮ menu in the sidebar, with the same Filter and Limit options as the other groups.
Good to know
- A section belongs to one account. If you have several accounts, choose the right one at the top of Settings → Sections.
- In the unified inbox, sections with the same name in different accounts are shown together.
- Sections also appear in the Smart Inbox, as their own pile.
- The free plan includes one custom section. For as many as you like, you need Talanoa Pro.
Something went wrong?
“I can’t delete my section. The trash button is grey.” The section still has emails in it. Move its senders out first (drag them to People, for example), then try again.
“Talanoa asks me to upgrade when I create a section.” The free plan lets you have one custom section. To create more, you need Talanoa Pro.
“I don’t see my section in the sidebar.” Check that you’re looking at the right account. Sections belong to the account they were created in.
Still stuck? Write to us at [email protected]. A real human will answer.
